Week 5
Entering The Third Dimension: 3D Design, Printing, Scanning
Topics Covered:
- How To
- 3D Scan
- 3D Design on Fusion
- Image2Surface
- 3D Print with Prusa
- Explorations
- Bubba
- Hummingbirds
- Pumpkin
The assignment:
- Design and print a small object that could not be (easily) made by subtractive methods. Upload your 3D model file (e.g. .f3z), STL file, and sliced gcode file to your documentation. (You can use to make downloadable links to your files).
- Scan something using a photogrammetry, LIDAR, or other application.
- Update your website with more information about your final project, including a bill of materials, timeline, and project plan (including whether you'll need 3D printed parts).
1.1 Design a Small Additive Object: Bubba
I wanted to make a cute little creature for my small object.
Guided by this "Sculpting Critters" Instructable,
I used the "Forms" workspace in Fusion 360 to mold this super cute fella I call Bubba for his roundness.
He is a salamander-gator-Totodile-dino mix whom I gave stubby chubby arms and legs.
In Fusion 360:
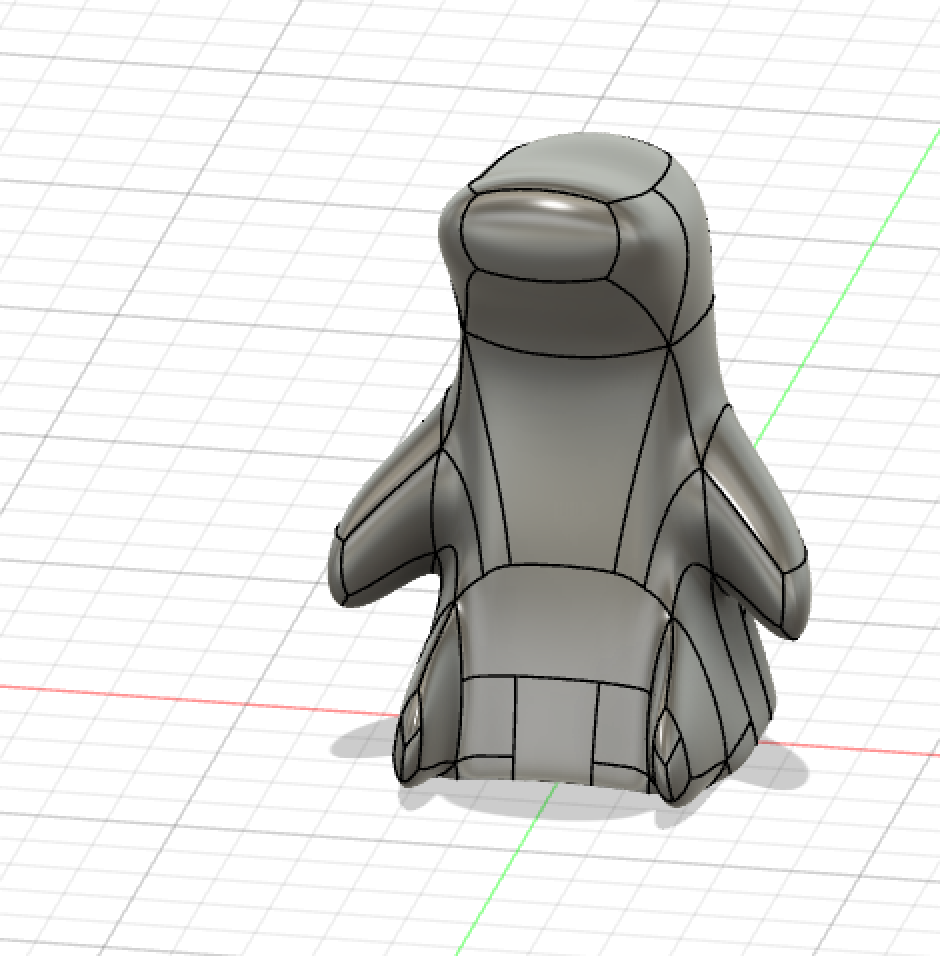
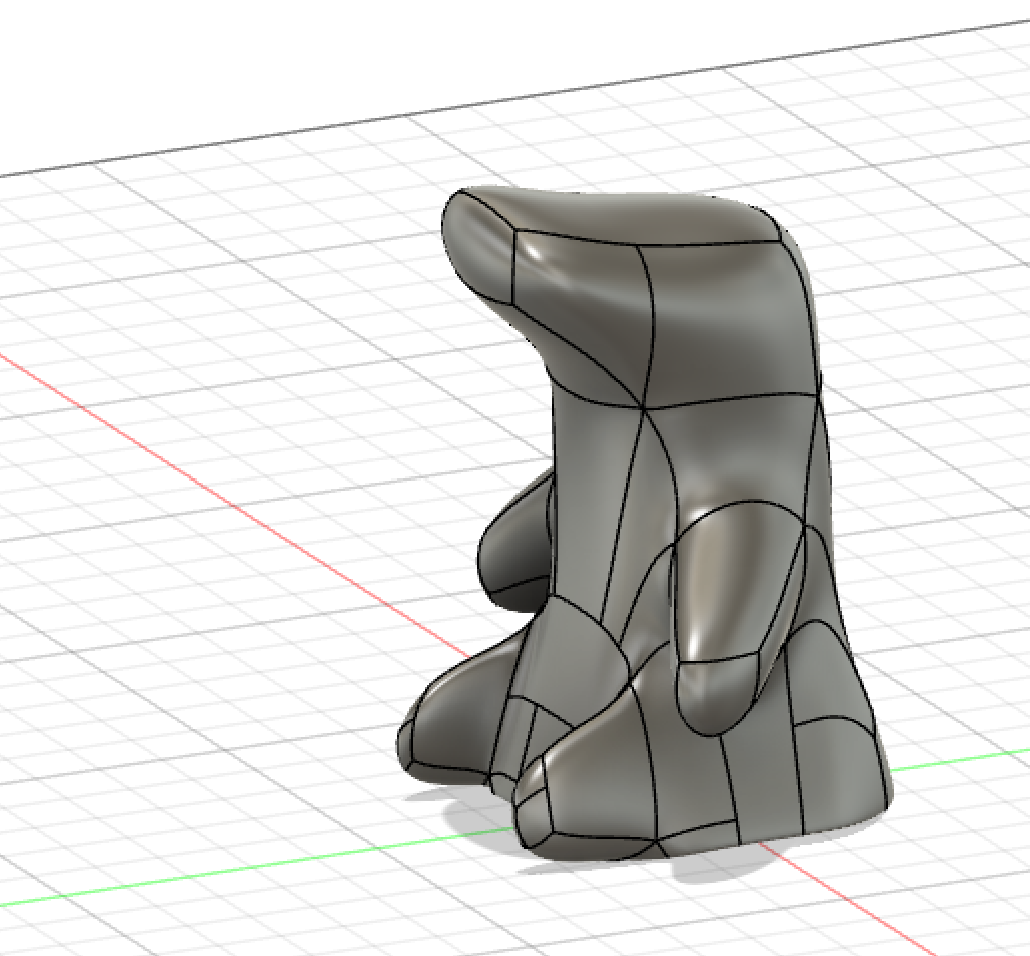
In Prusa:
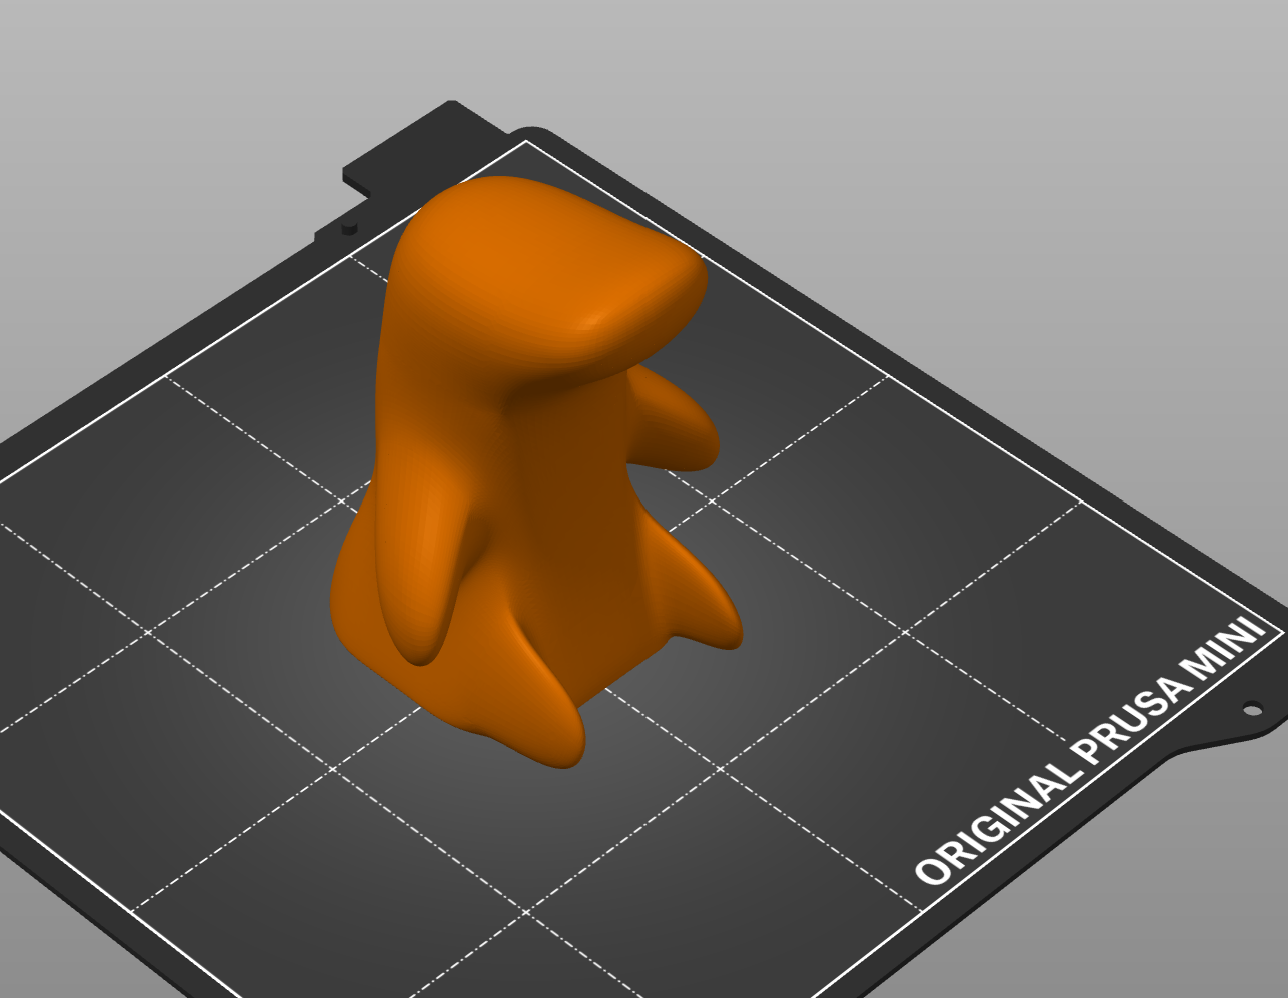
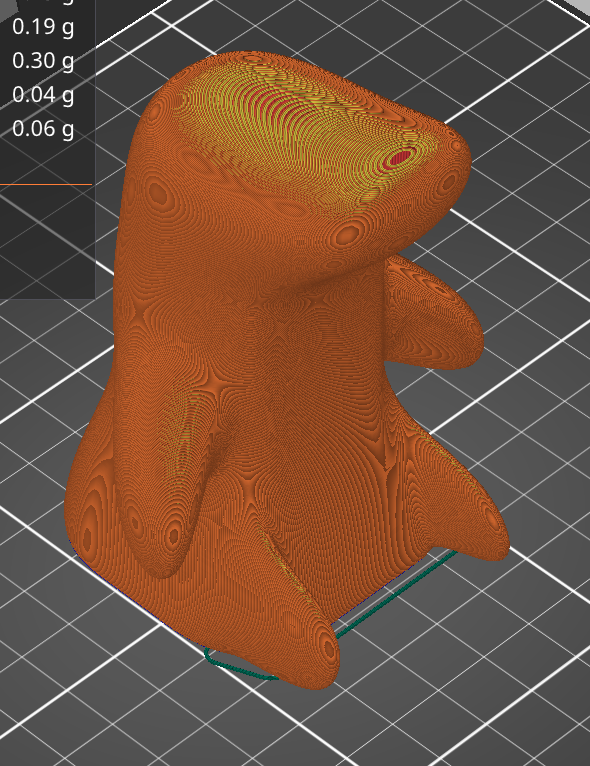 Ain't he cute? Cute lil' Bubba.
In Real Life:
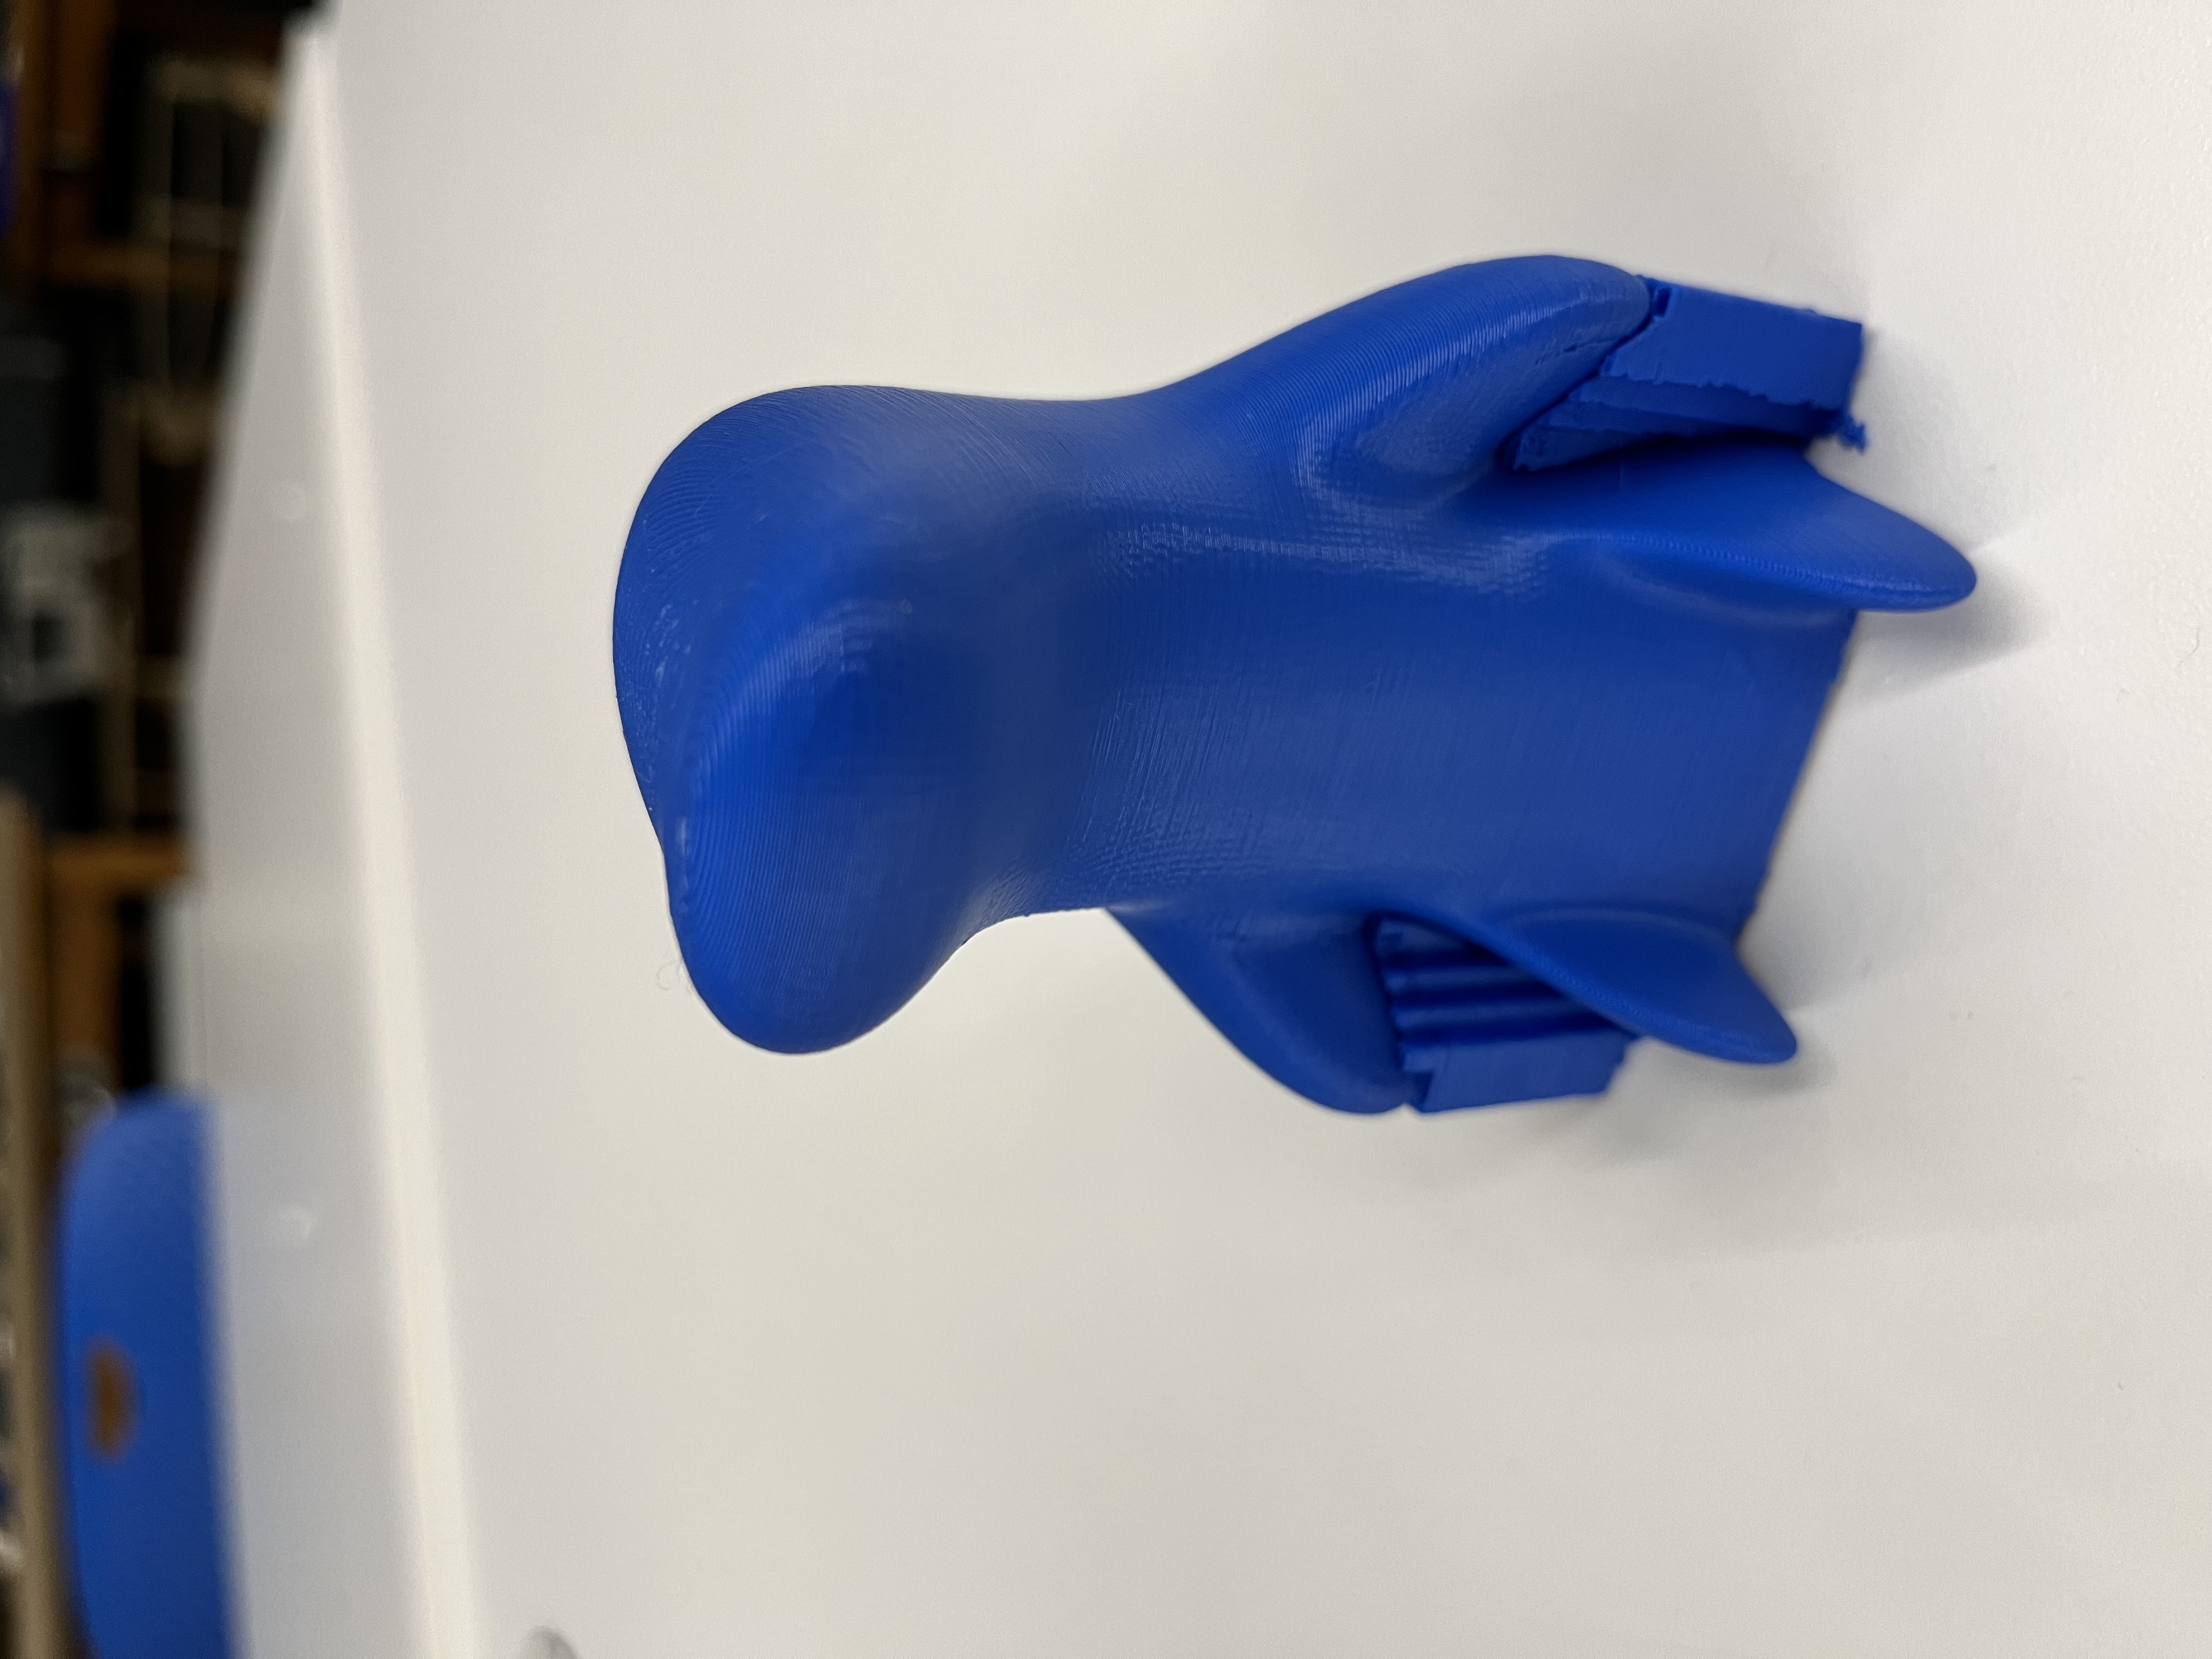
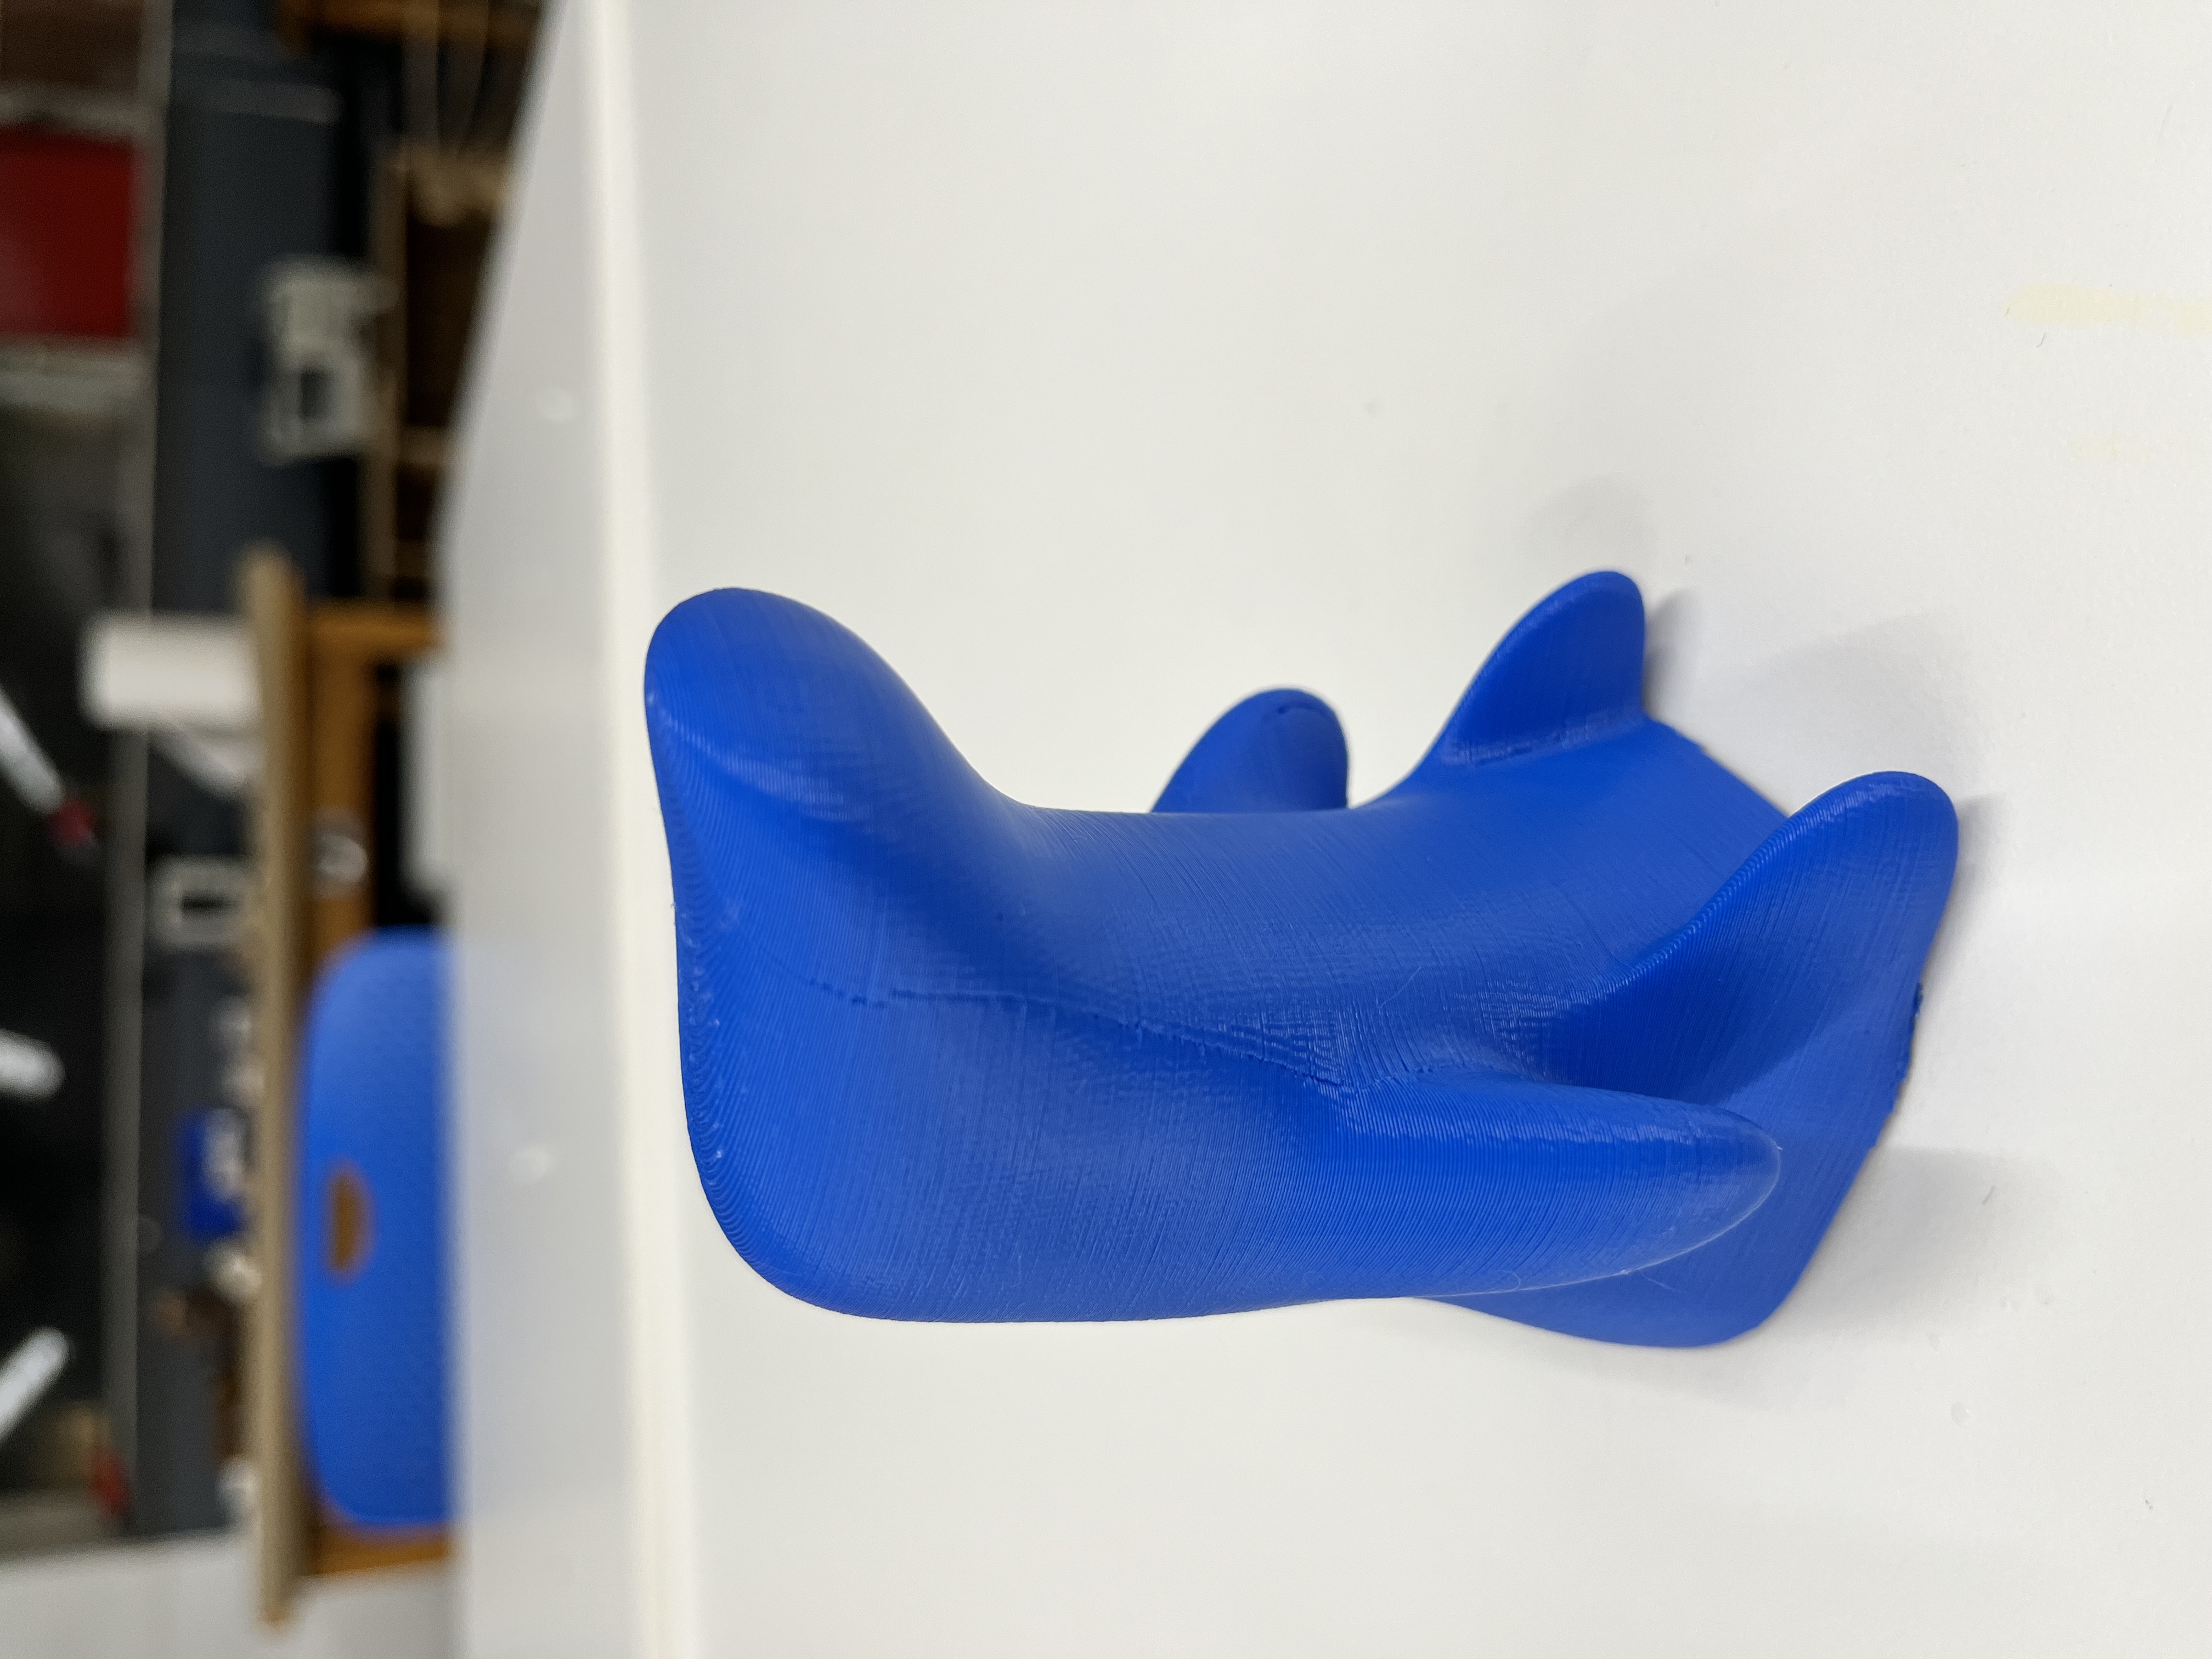
With the support on the left, doesn't he look like he has little armrests? XDD
I'm not going to lie, he came out way bigger than I intended. Three inches is way bigger than I thought it was. Next time I make creatures, I will certainly aim for 1-2 inches.
- Download my .f3z file from Autodesk 360 online
- Download my Bubba STL file
- Download my sliced gcode file
1.2 Design a Small Additive Object: Image2Surface and Hummingbirds
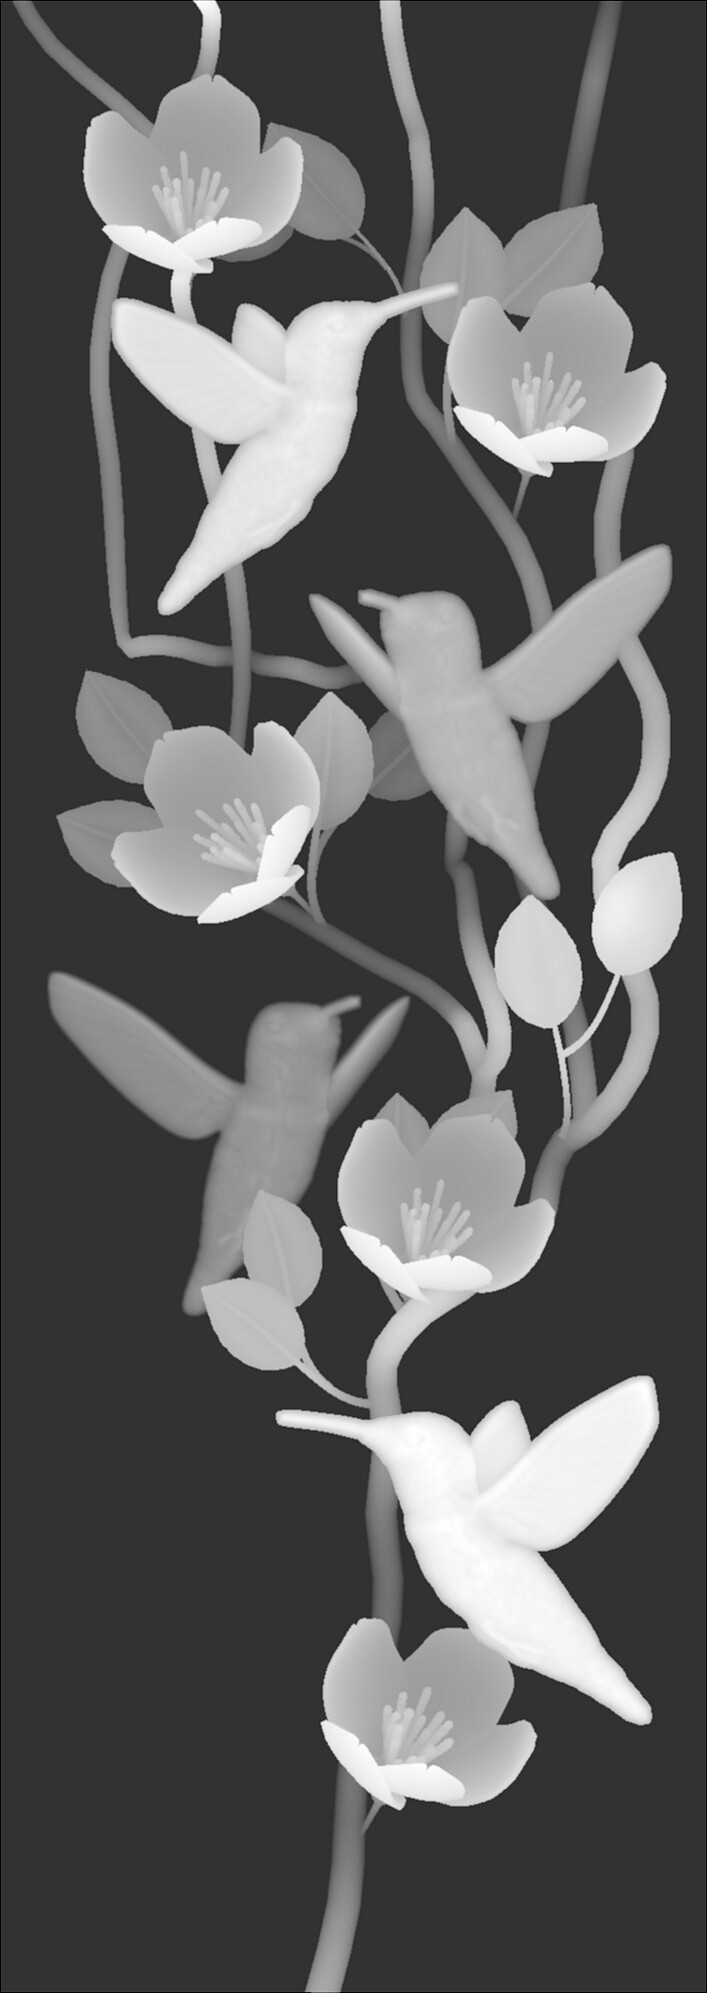
I also explored using the Image2Surface add-in (hanskellner's Github package, as provided on the PS70 website) as a way of creating surfaces from grayscale images.
I used an image from Maker Forums user Oscar Gallegos which he posted on this forum.
It pictures hummingbirds:
 Installing hanskellner's Github package into my Autodesk Fusion 360 Add-ins,
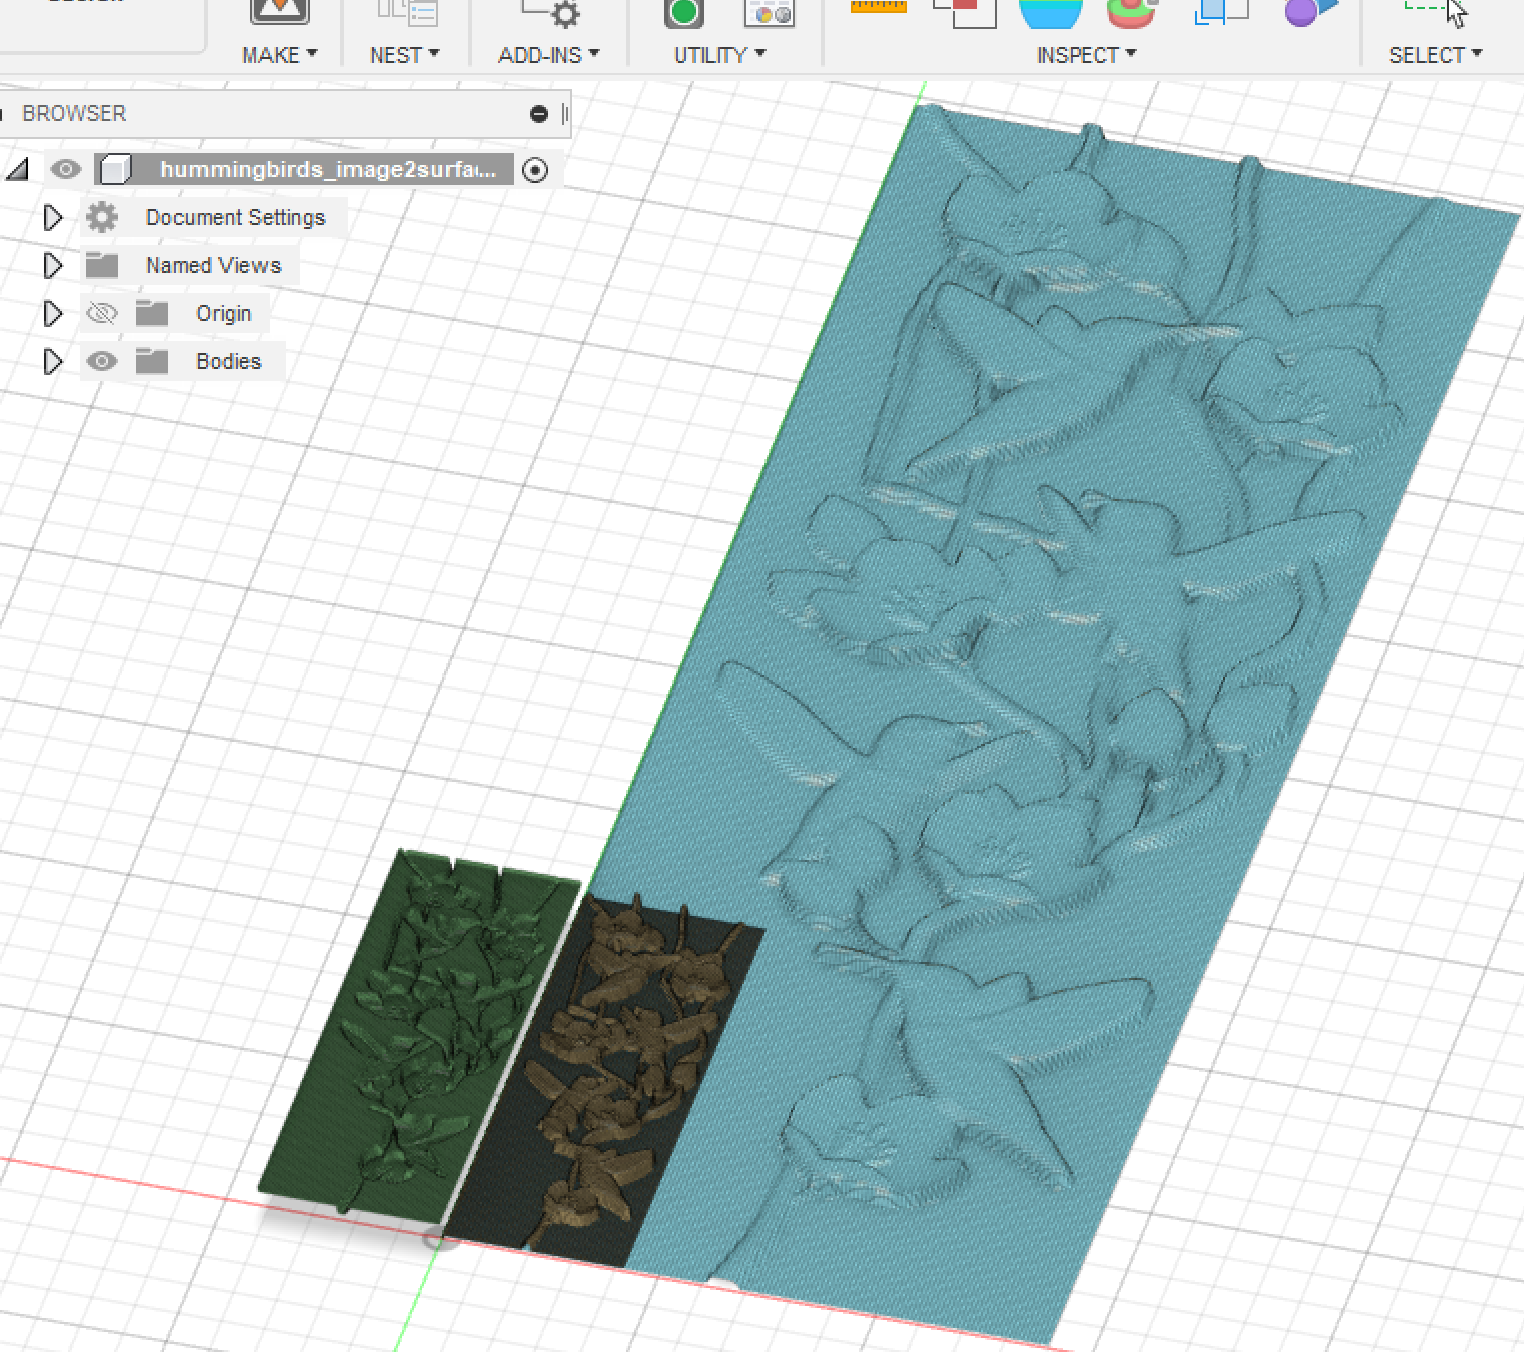
I was able to create these surfaces in Fusion 360:
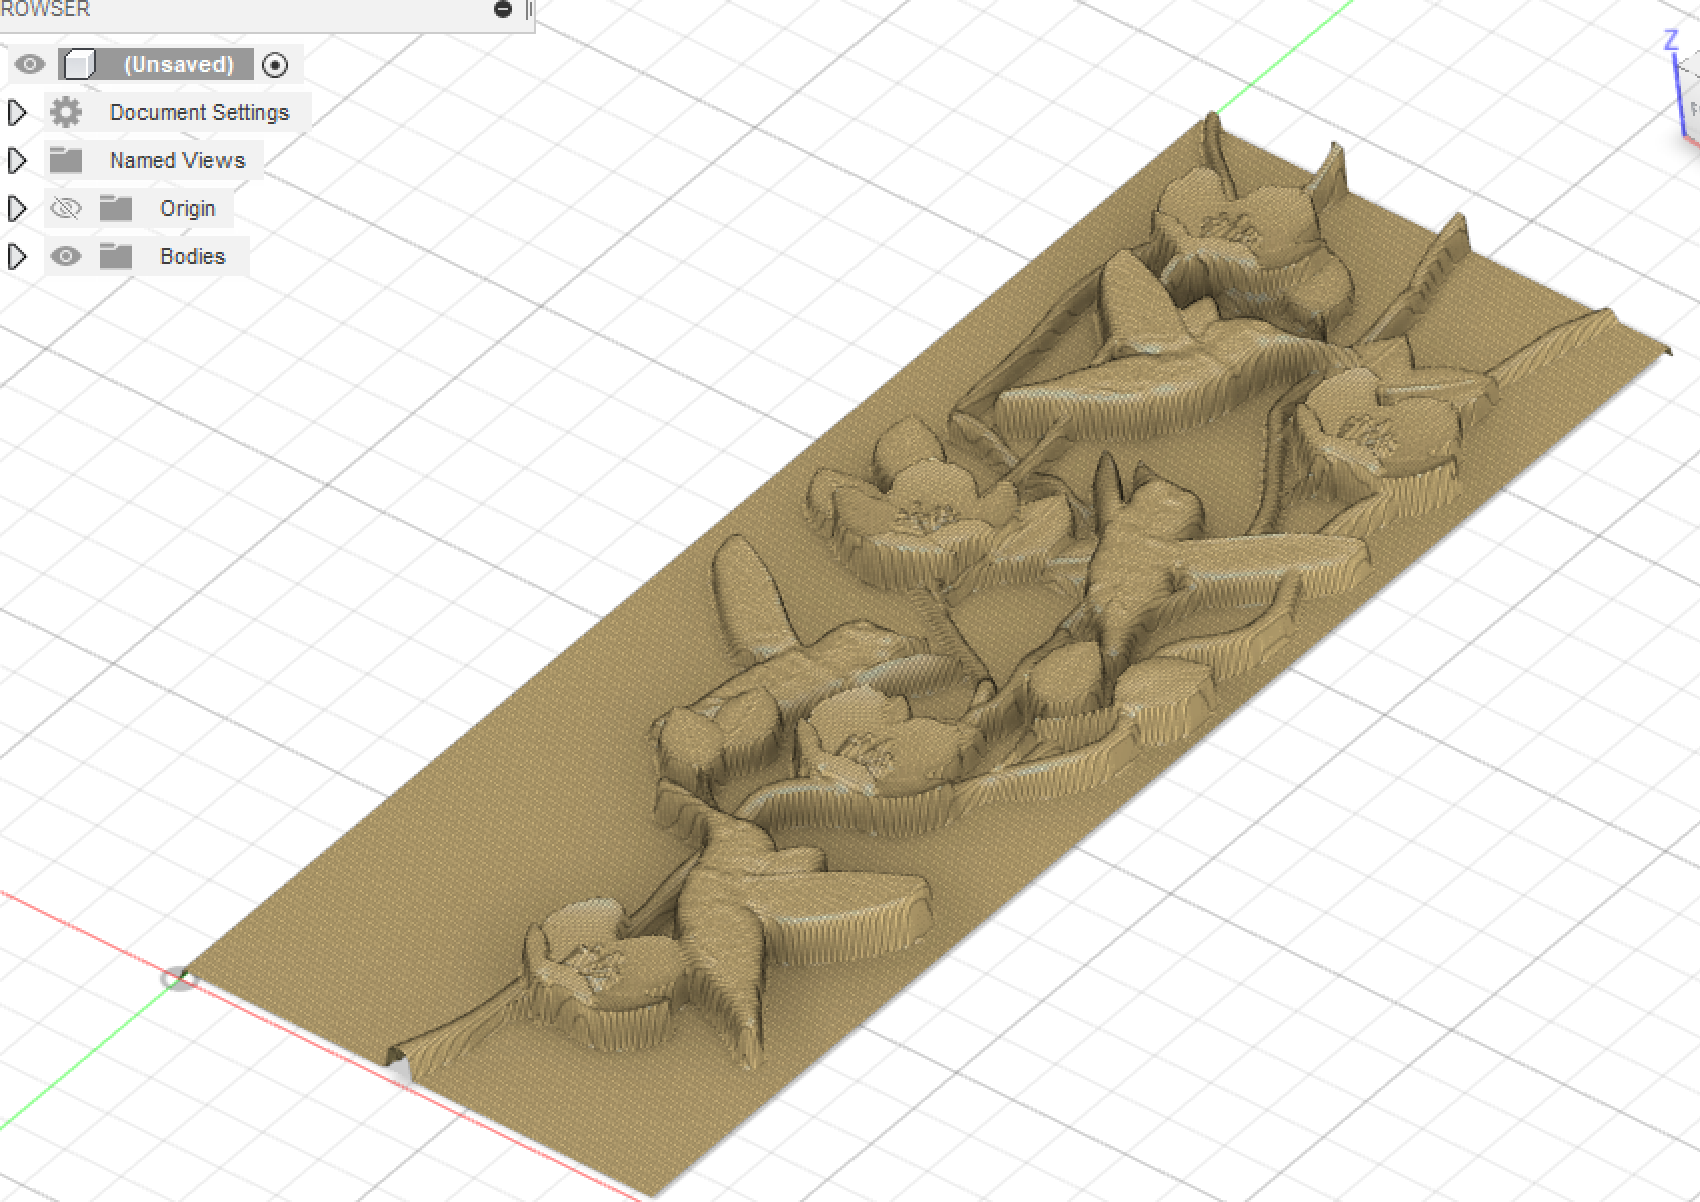
Me messing around with the settings:
In Prusa:
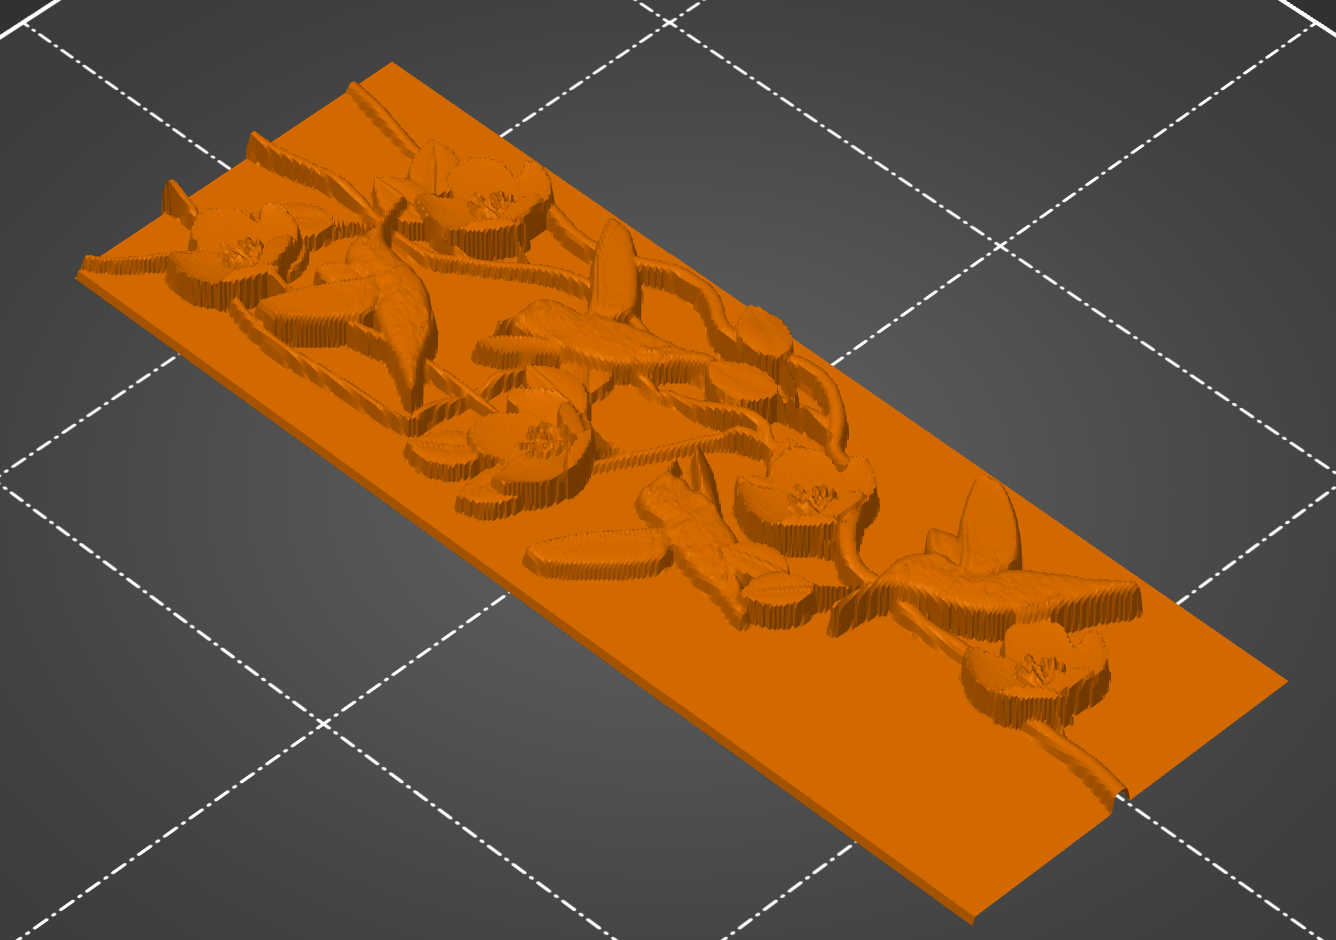
I didn't try printing this one, since there was an issue with the first layer's extrusion I couldn't quite figure out and it seemed like a waste of filament what with the bottom layer and also the fact that I already want to make Bubba and have no use for these hummingbirds. Still, glad I installed Image2Surface and understand how to use it!
2. Scan Something Using Photogrammetry or an Application: PolyCam Pumpkin
To scan an object, I tried out the app mentioned in class: PolyCam!
Pros: surprisingly accurate + easy to use!
Cons: only ~9 free uses + only exports .glb files.
Thus, I can't use this many more times, but it was cool for a test run.
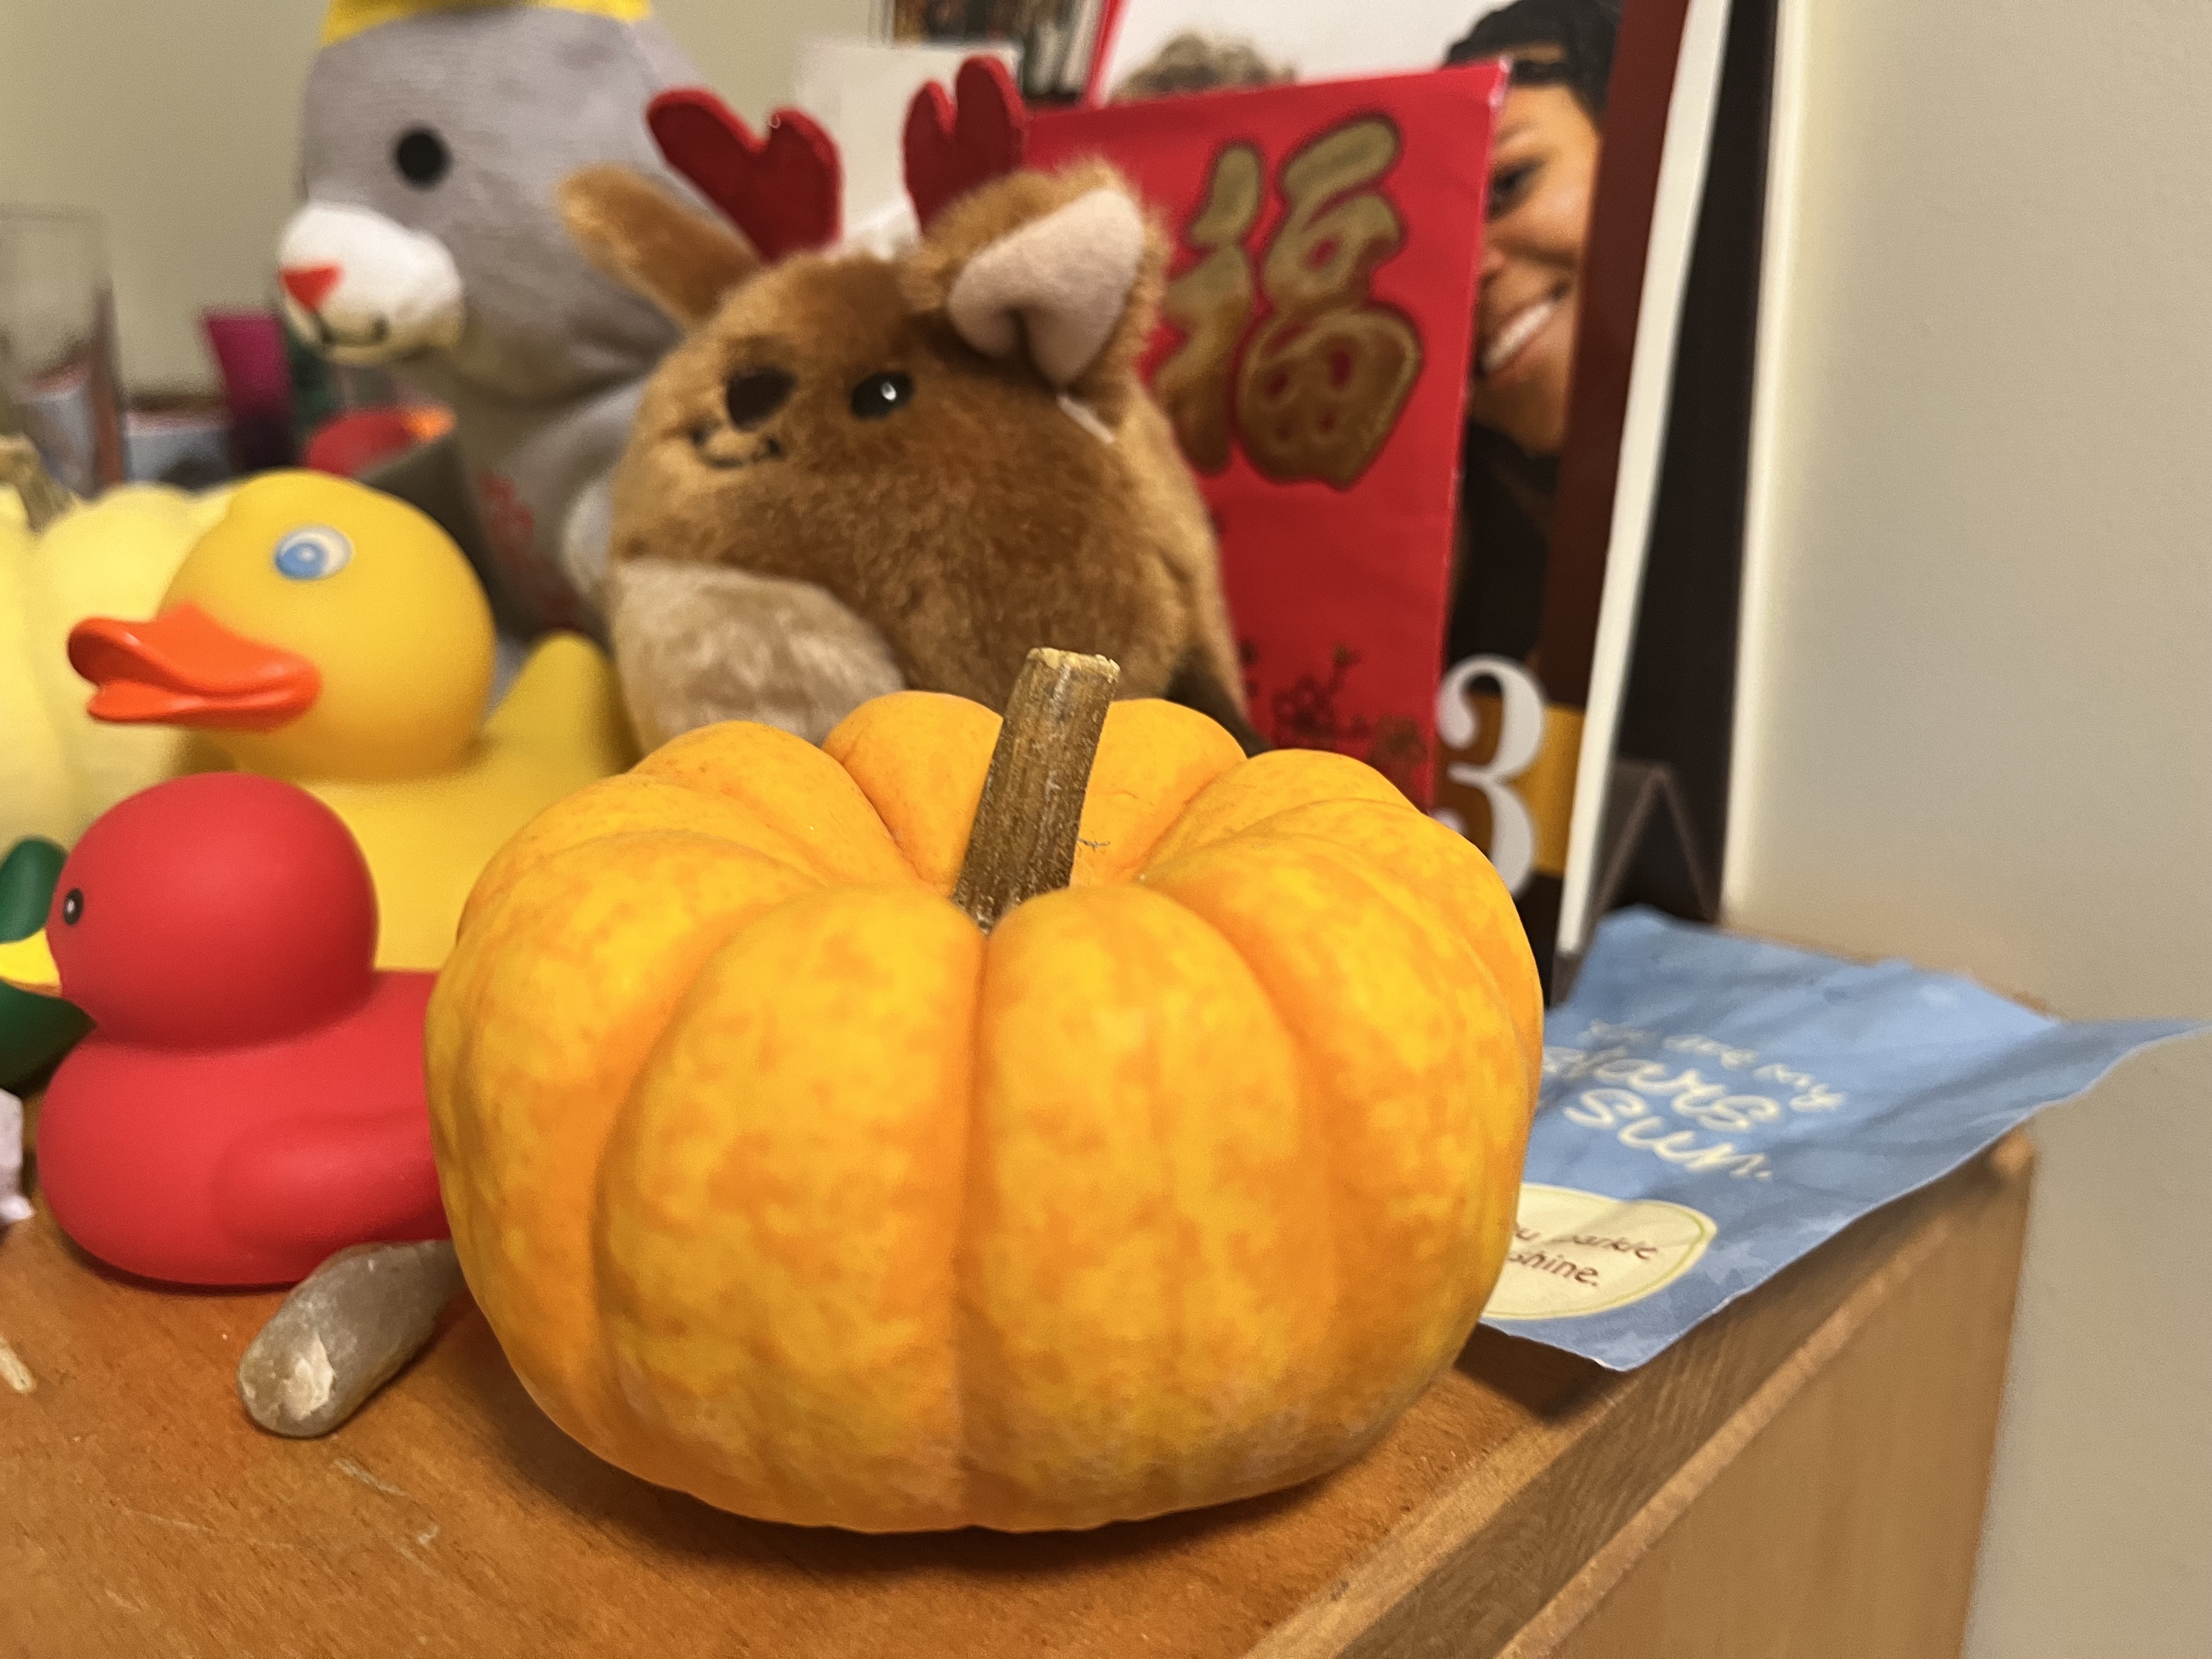
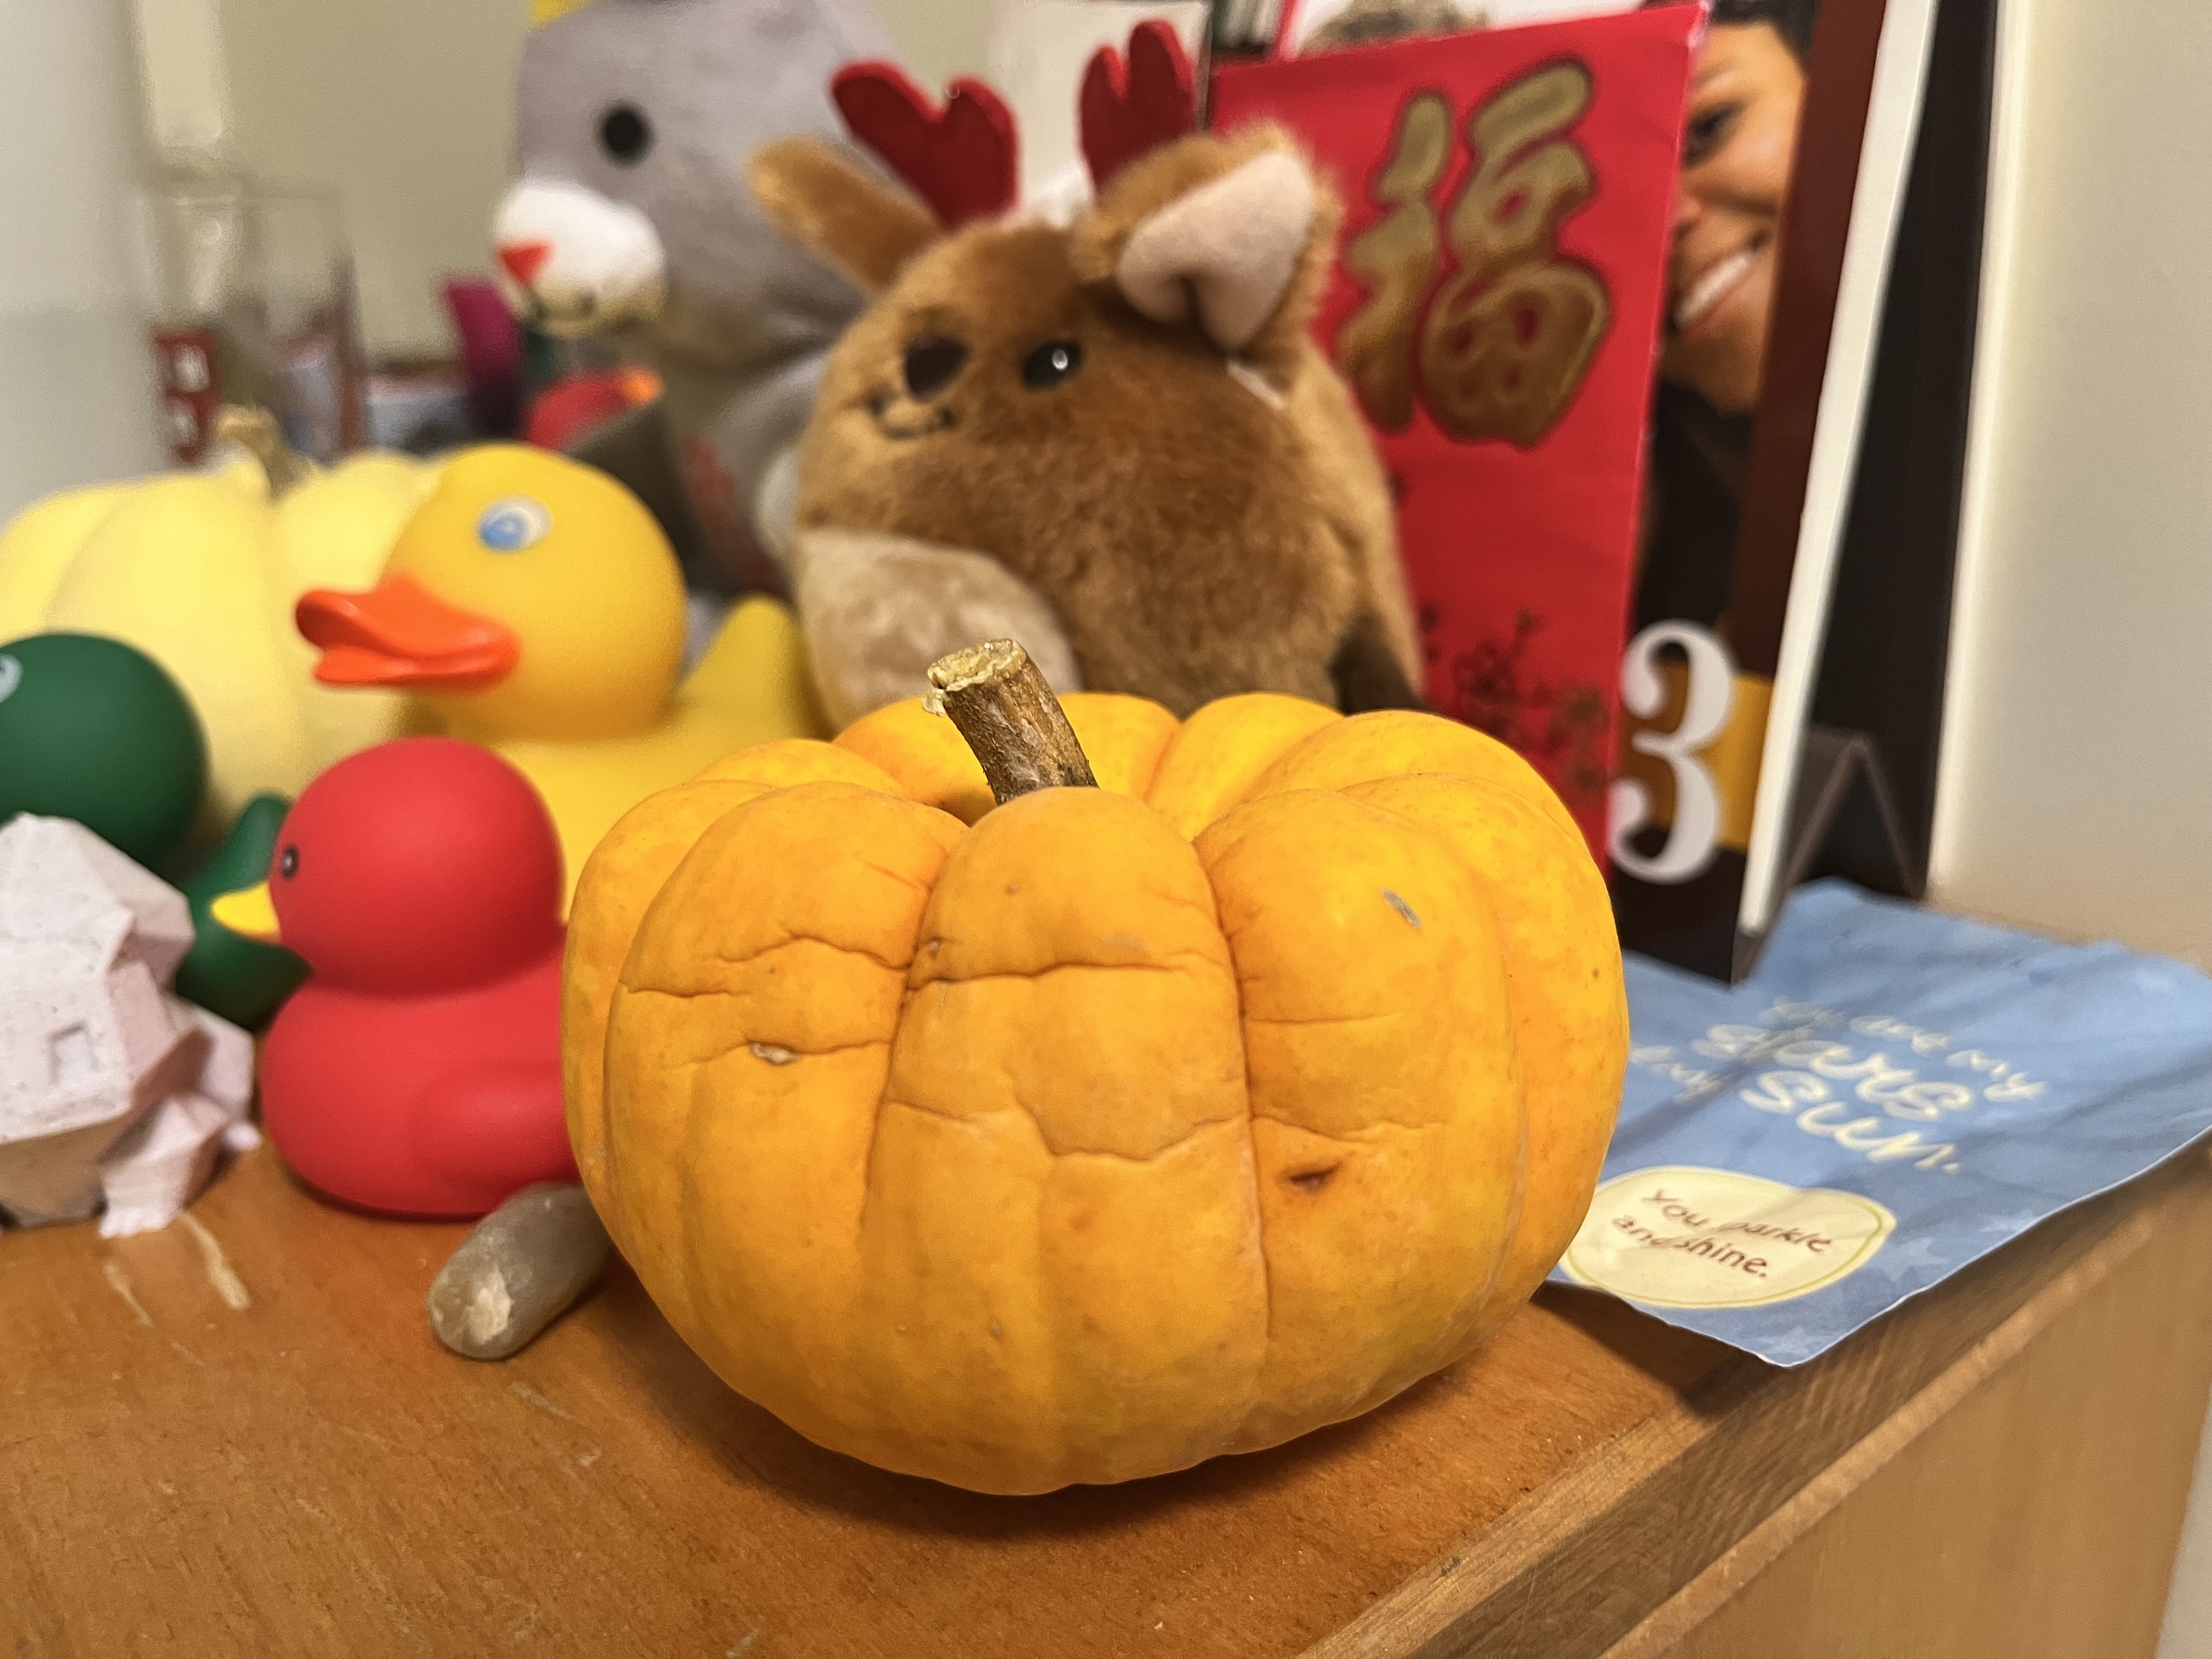
I decided to scan a small pumpkin that I've had since last fall and should throw away soon. Maybe I can make a 3D printed one instead!
Pumpkin In Real Life:
Pumpkin On PolyCam After 21 Pictures:
It came out super well! A large chunk is missing, but I'm pretty sure that's just because I didn't really cover that area in any of my pictures. (It was in the back, and I wasn't sure if it was okay to rotate the object, or if it used surrounding objects as helpful locators.)
Because I didn't want to pay for pro, I was forced to download it as a ".glb" file, but found a GLB-to STL converter online .
Pumpkin In Prusa:
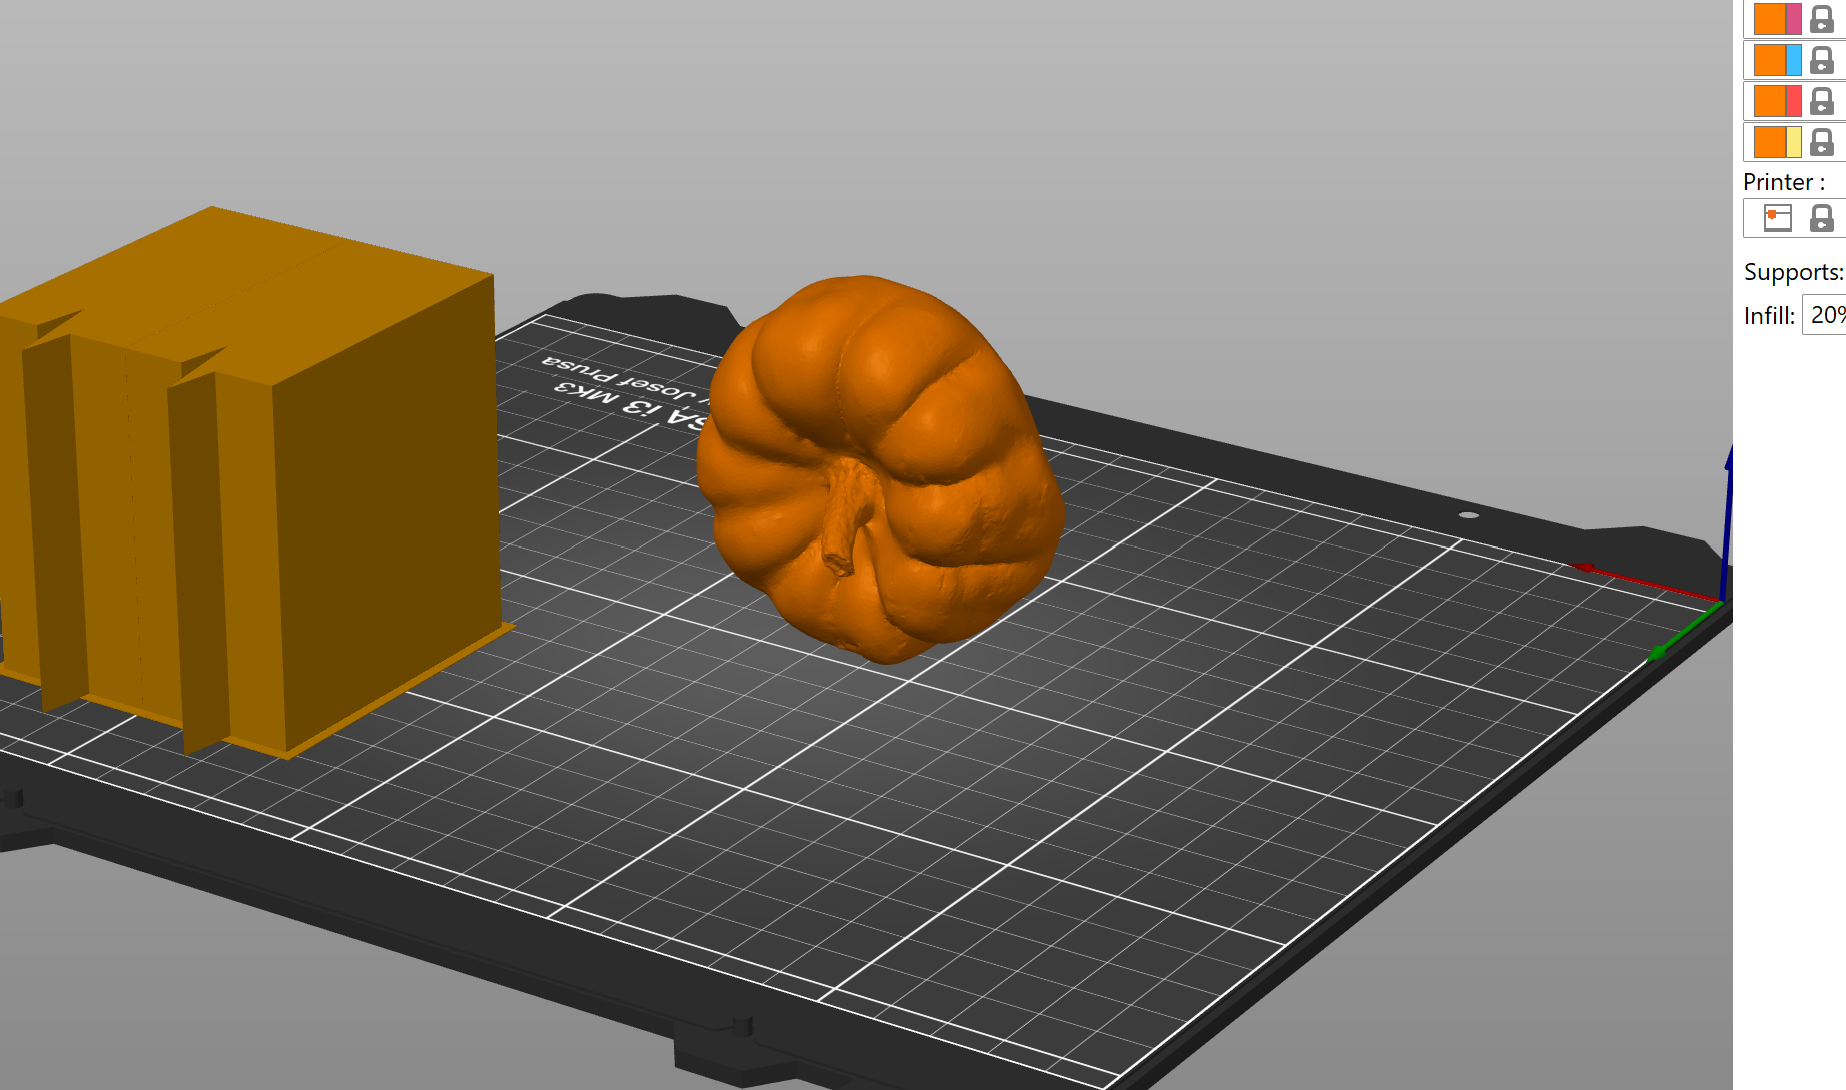
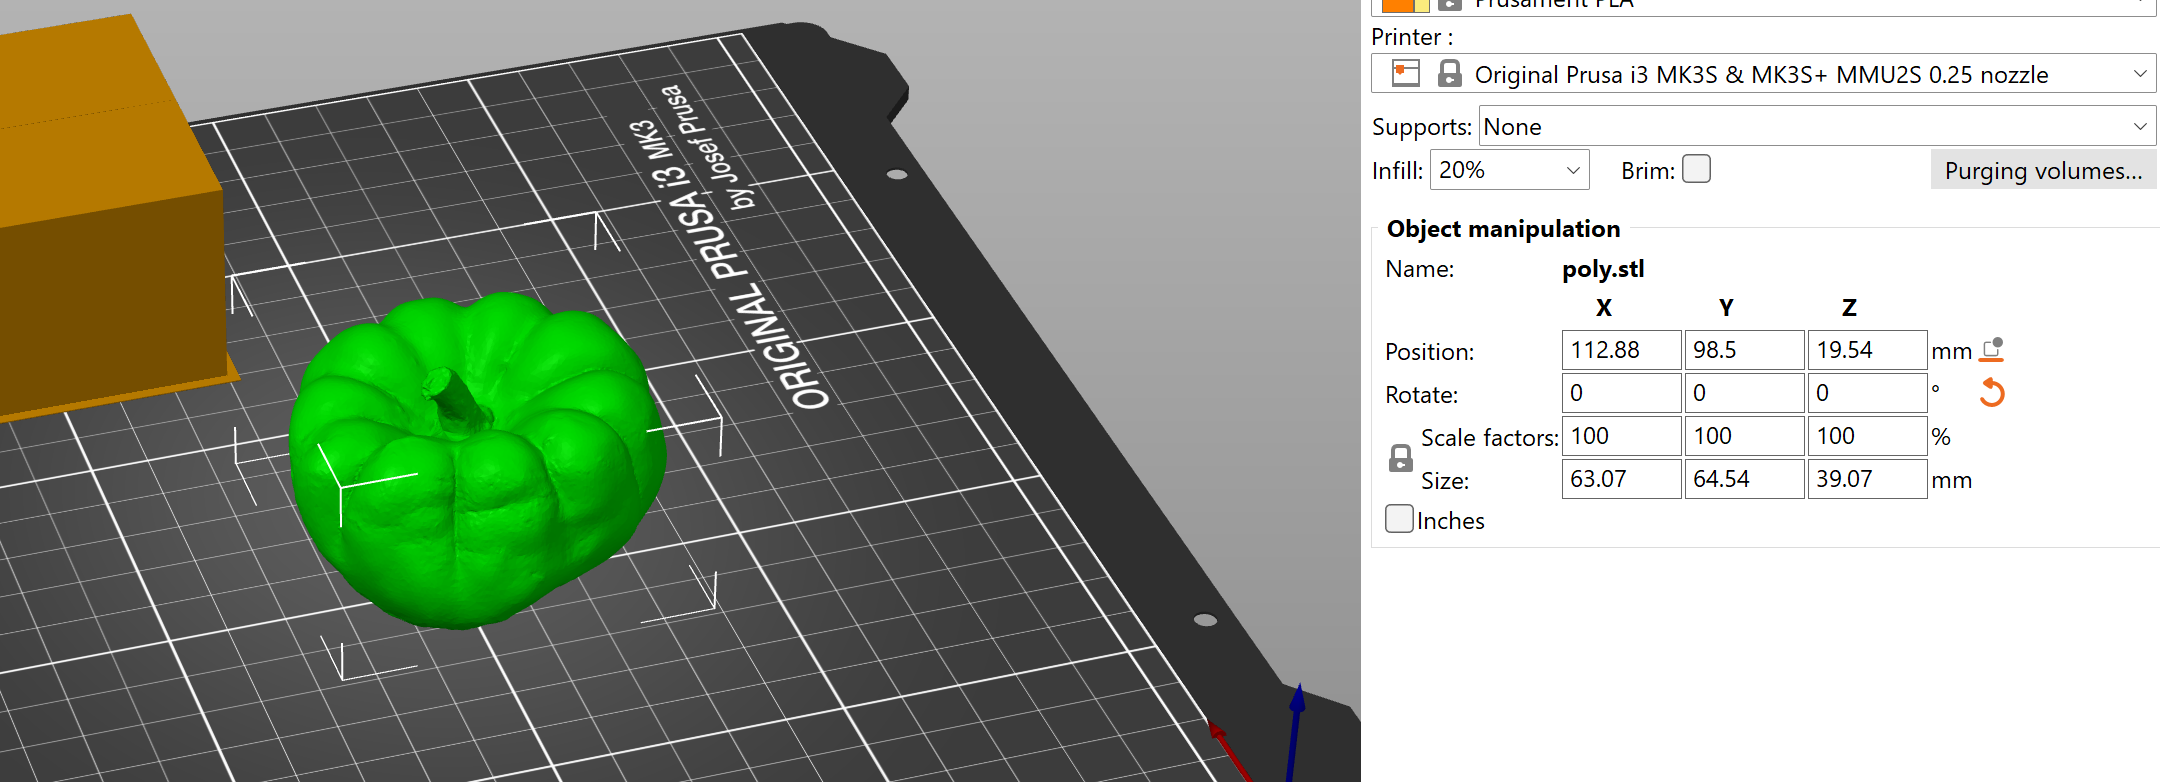
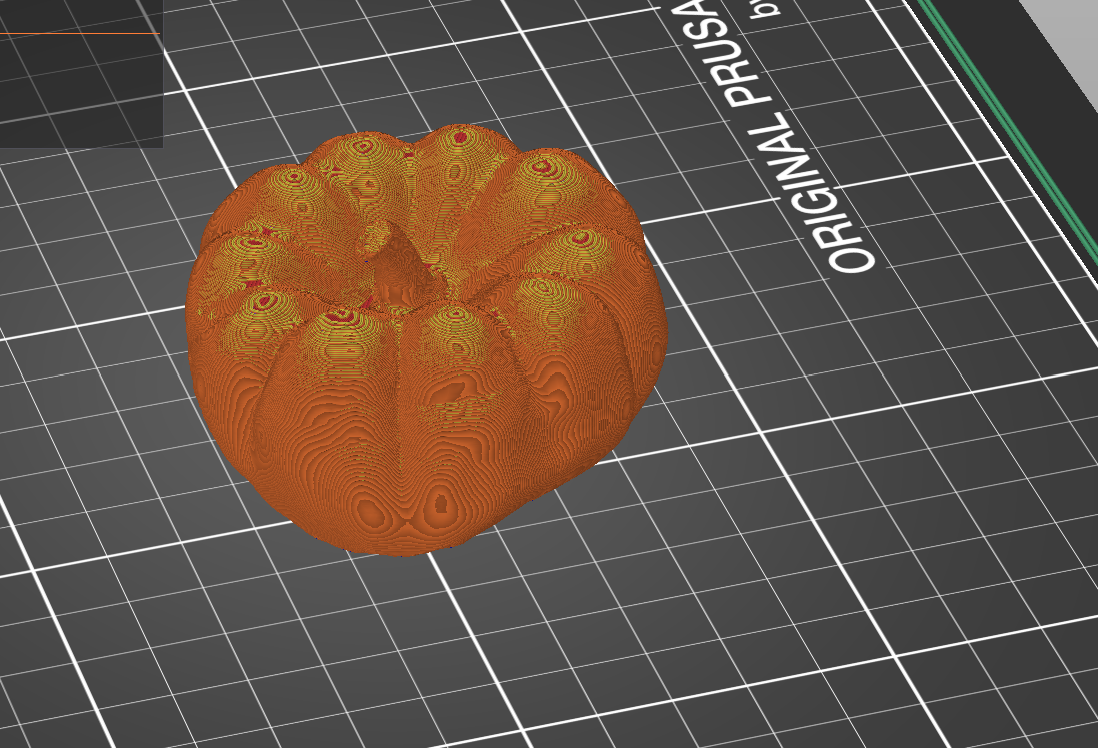 I plan to print this lumpy pumpkin when I get the chance. :D
- Download my .glb file from Autodesk 360 online
- Download my Pumpkin STL file
- Download my sliced gcode file
3. Update My Website with more Final Project Details
Please see my final project thinkspace!